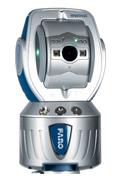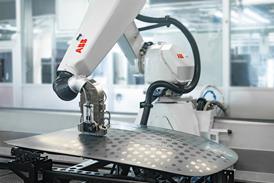
The goal of this complimentary webinar was to introduce you to the most flexible way to complete measurement jobs faster, in tough environments while maintaining high accuracy, and to move easily between job-sites. Whether your requirment is part inspection, assembly, alignment, robot calibration, machine fixture or quality control, Laser Tracker Vantage ensures you get value from your investment.
Learn all about the most complete laser tracking solutions:
- Measure around complex tooling and structures with the new SmartFind function;
- Create scans using TruADM enabling fast dynamic measurement;
- Locate your target quickly when it is not in the normal position with MultiView cameras;
- Measure in demanding industrial conditions enabling you to complete jobs more efficiently due to the IP52 rating;
- Evaluate and create accurate reports with FARO’s CAM2 Measure 10 software.
This webinar was presented by:
 Keith Noble
Keith has been working in metrology for almost 15 years and has spent over 10 years working with laser trackers. His career started in Comau Systems in 1998 where he was using laser trackers to set automotive tooling. In 2003, he joined JCB as a Quality Engineer using FARO measuring arms, before joining FARO in 2006. He now works as the Sales Support Engineer for the laser tracker team at FARO UK.
FARO Technologies develops and manufactures portable systems for the measurement and 3D documentation of spaces and objects. Products from FARO permit rapid and highly precise 3D measurement for inspection, quality control, alignment, surface modeling, asset management, and documentation needs. The simple-to-use solutions are ideal for numerous applications in various industries, including manufacturing, automotive, aerospace, architecture and civil engineering, energy and forensics. FARO currently has more than 30,000 installations and 15,000 customers globally. Principal products include the new FARO® Laser Tracker Vantage, the world’s best-selling measurement arm – the FaroArm®, the ScanArm, the Gage, the Laser Scanner, and the CAM2 measurement and reporting software


