Picture perfect: Vision in vehicle assembly
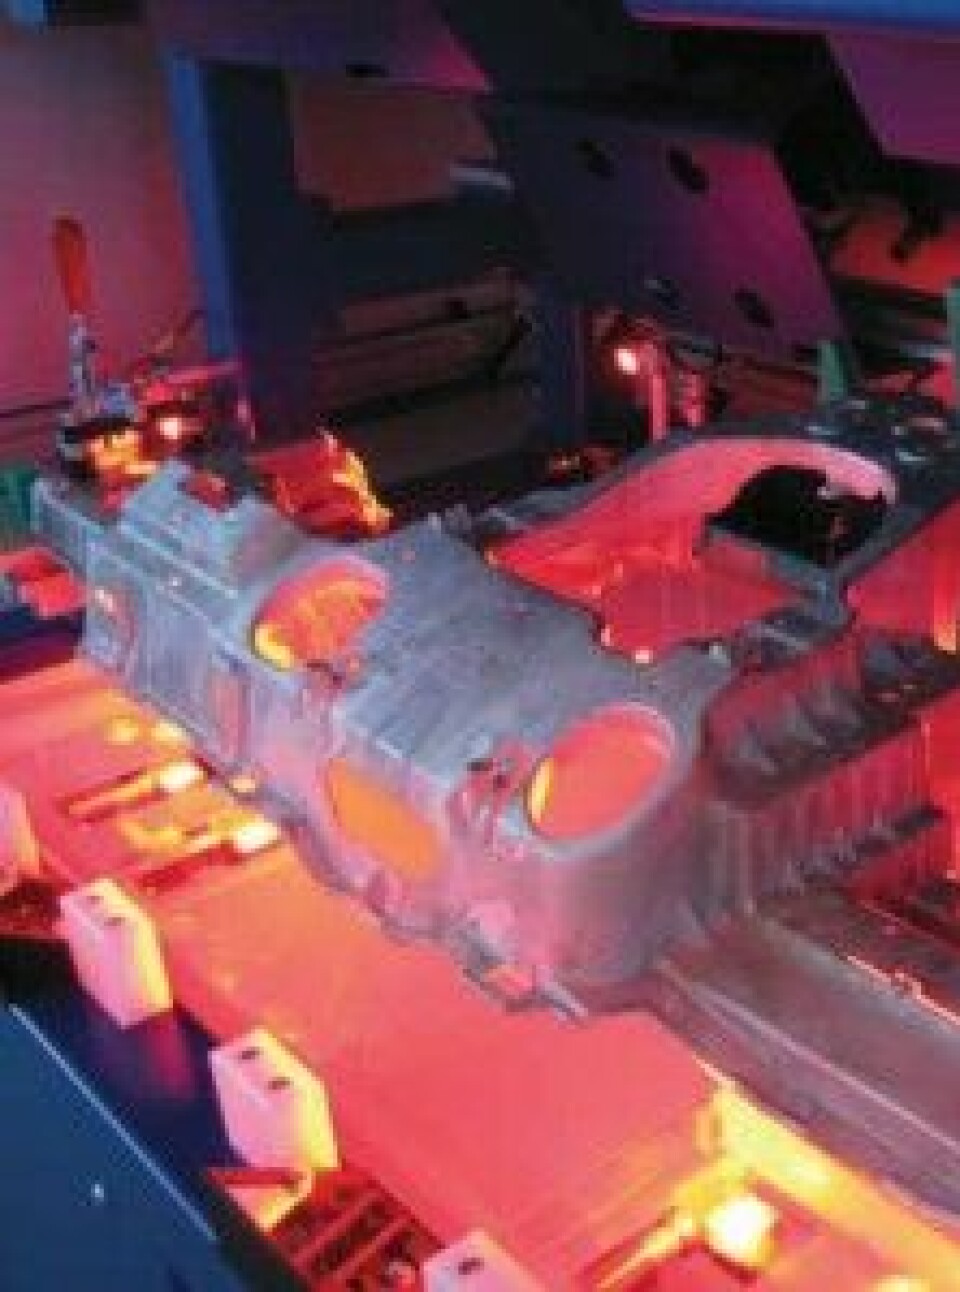
The BMW factory at Landshut in Germany manufactures components for the company’s final assembly sites around the world, including body-in-white elements in various metals. The latter include instrument carrier panel frames for the Mini Countryman. The part aluminium-magnesium alloy unit acts as the mounting for the dashboard; it is also a key element in the steering and airbag systems. It therefore has a fundamental role to play in both the vehicle’s safety and the visual quality of its interior.
The degree of importance attached to its compliance with specified quality and accuracy criteria is indicated by the fact that since the start of production, all the parts involved – for both the left-hand and right-hand drive versions of the vehicle – have been subjected to 100% inspection in an automated visual inspection system built specifically for the task. The degree of accuracy involved is 25μm.

Clever engineering
The system was designed and built by German company Ziemann & Urban. The core technologies involved comprise 26 cameras – effectively a double battery of 13 cameras for each of the two versions of the unit – supplied by Allied Vision Technologies, a subsidiary of Augusta Technologie AG. But the cameras, which themselves comprise a mix of both laser and non-laser light detection units, are supplemented by some clever engineering involving the use of mirrors which means that when the panel frames are mounted in the testing station there is no need for them to be physically manipulated in order to ensure that all of the test points are checked. In addition, contrary to the normal requirement for such intense visual inspection, the test station is not housed in a controlled environment but is instead co-located with the presses that actually produce the parts.
The details are confirmed by Markus Urban, responsible for applications and service with the company and son of the co-founder. He says that, in fact, a number of different attributes of the parts are checked. The major ones are the eight attachment points for the airbag and steering column units, which are subject to 3D measurement. Both their location and accuracy have to be established. In addition there are also numerous smaller holes that are used to help fix the units in place in vehicle assemblies and these are examined for their quality of finish, in particular the presence – or hopefully absence – of burrs.
Altogether there are some 120 measurement points for each part. None of this requires colour vision, hence all the cameras are monochrome. In each bank of 13 the eight used for checking the airbag and steering column attachment holes are AVT’s Guppy F-033 video graphics array (VGA) cameras using laser light as illumination. Of the others, three are from AVT’s Stingray industrial imaging camera range – each one a different model with resolutions ranging from 1.25-5 megapixels – and two are Guppy F-036 units, similar to their namesakes but fitted with a sensor that makes them particularly capable of dealing with high contrasts. But all the software and all the engineering were from Ziemann & Urban.
Working environment
Perhaps its most innovative aspect is the way it dispenses with the need for any form of controlled environment. Instead, as Urban explains, it uses a system of sensors to compensate for variations in the temperature of the surrounding area so that they do not affect the accuracy of measurements. He does concede, though, that the installation has to be kept free of dust in order to operate properly, but ensuring this is the case requires just a simple cleaning routine that takes about three minutes at the beginning of each shift.
Those temperature variations can be quite extreme in Landshut. Urban says that even inside the building where the installation is housed ambient temperatures over the course of a year can vary in the range 20-45°C. The sequence of operations involved after a part is removed from the press involves firstly a cooling period and then a deburring operation before the part is transported the short distance to the test installation. Loading is a manual operation carried out by shopfloor production personnel before the automated test sequence begins. Because the part remains stationary during the process the whole operation is compressed – so much so that, Urban reports, as many as “720-750 parts per day” can be checked. He states that the measurement time for an individual part is less than five seconds, adding that a previous similar inspection routine took three hours, which meant that only a sample of parts could be tested.
Industrial vision market
But what is the broader picture as far as the use of machine vision in automotive manufacturing is concerned? Holger Hofmann, who runs his own market research and analysis company AMC Hofmann, specialising in machine vision technologies and applications, confirms that the automotive sector is a major user of machine vision and is one of the major drivers of the development of the whole technology. Hofmann offers some observations on how the interaction of technological capability and user requirements is likely to drive market development over the near future. Some things, he indicates, are unlikely to change much. The levels of accuracy systems can achieve are now generally regarded as sufficient for current demands. Pricing levels for the technology are also now realistic. But other aspects could see significant shifts in their rate of development and scale of application. One such shift might well be the use of robot vision, whether in direct manufacturing or related quality control applications, in environments where the focus of the work is physically moving.
New applications
Hofmann says that two other application areas of interest for the automotive sector are extending the use in quality control in general and secondly bin-picking, enabling a robot to select individual parts from a container delivered to the lineside; the latter Hofmann believes has “huge potential.”


